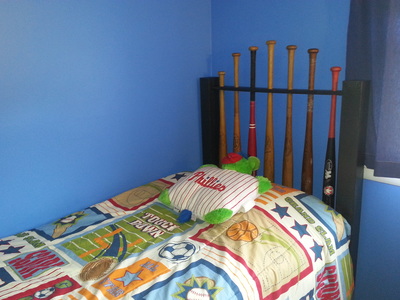
He choose Blue Dart for the walls. We chose from the color swatch card, but the name is serendipitously perfect for a boys room! (It looks darker in his room than this link. It actually matches a blue Nerf dart; we tested it ;))
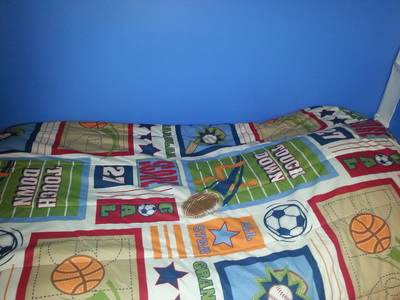
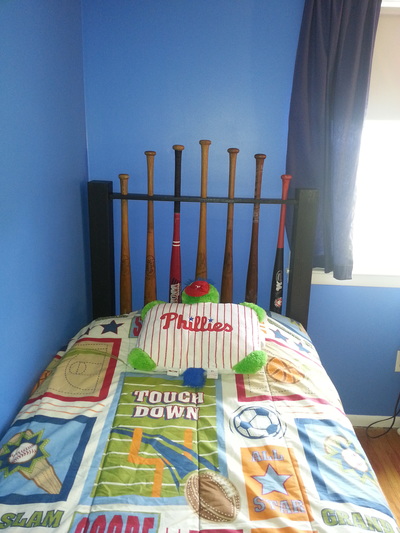
He already had dark blue curtains and a red area rug (over hardwood floors), sports bedding, and tons of baseball accents. The blue walls were a great choice.
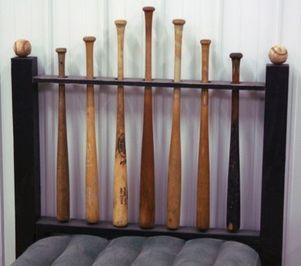
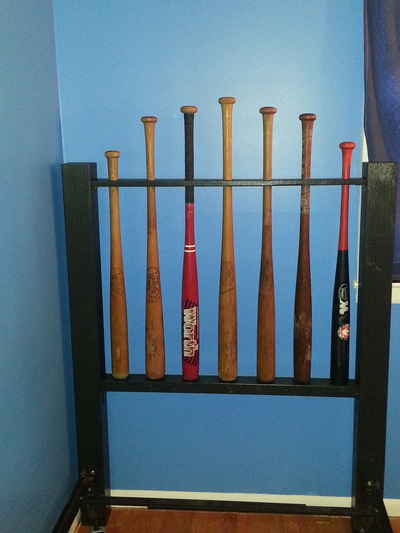
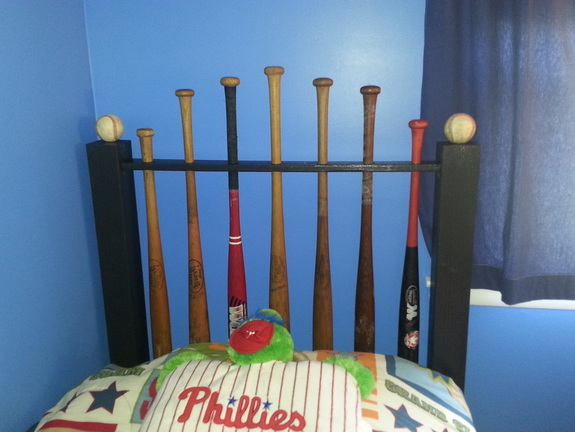
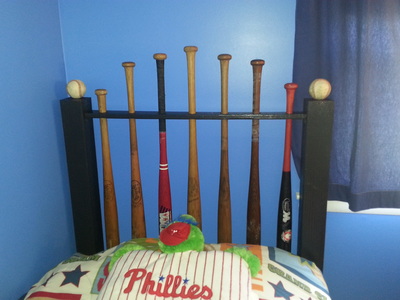
So, the only missing piece was the headboard. It hadn't made it past my pin-board, but it was fresh in my mind. My search for bats was coming up flat. They're harder to find than you'd think...and crazy expensive to buy new (plus, I wanted old bats). Little by little I collected them. My brother got some from his neighbor, I trash-picked a few, and a couple friends came through by looking in their sheds and garages. And, finally, I had enough. (Afternote: AFTER I already had enough, I found a whole bin of new wooden bats at FiveBelow. It's not what I was looking for, but would totally work for the project.)
I went back to the pin, but it was somewhat of a dead end, in that there were no instructions or dimension. So we decided to wing it. (My husband's construction background came in handy here.)
We went to [big box home store] for the wood. The exact supplies depend on what dimensions you want; we chose an 8' 4x4, a 3x1, and a 2x1. (Side note: Did you know that those aren't the real measurements? 2x4s aren't 2x4... they're like 1-1/2x3-1/2 or some craziness like that!) I found that (for my standards) 4x4s are surprisingly expensive and 1bys are surprisingly cheap, so it all evens out.
Annnyway, I arranged the bats by length and color, then put them in the pattern that fit the measurements and my OCD-inclined nature. I measured (like a million times because I'm paranoid), then my husband made the cuts. (Huge props to him for dealing with my measurement notes, which may have included things like "about 2-1/4". My skills begin and end at 1/8ths; I don't do that 5/16ths business, that's his job.)
I immediately started keeping an eye out for old bats...
I was already absolutely loving it!!
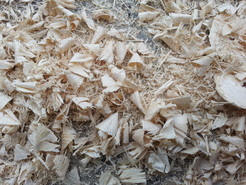
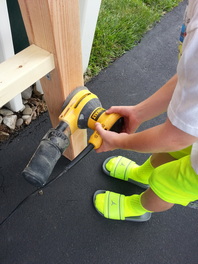
Black. Yes, black. Let's do it. But first, sanding.
God, I hate waiting.
Ya know how some recipes list prep time and cook time? For this project, that would be 1,051,200 minutes of prep and about 90 minutes of work. (That's 2 years. My knowledge of RENT lyrics and mad x2 multiplication skills made that easy math.)
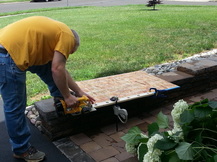
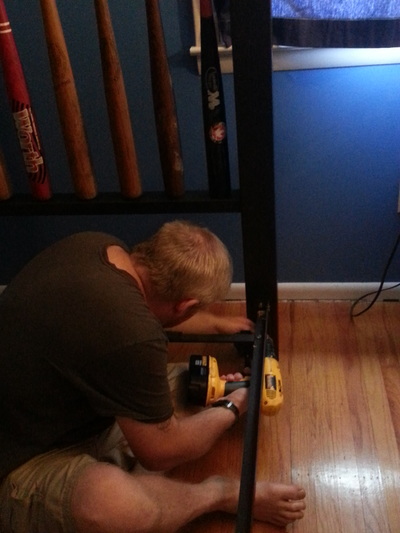
Finally, it was time to finish the assembly and get it in place. Again, husband+tools= success.
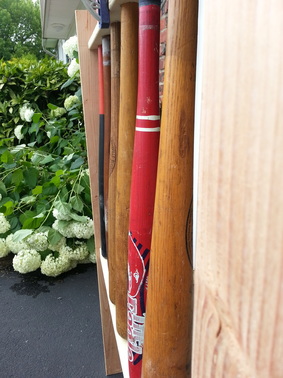
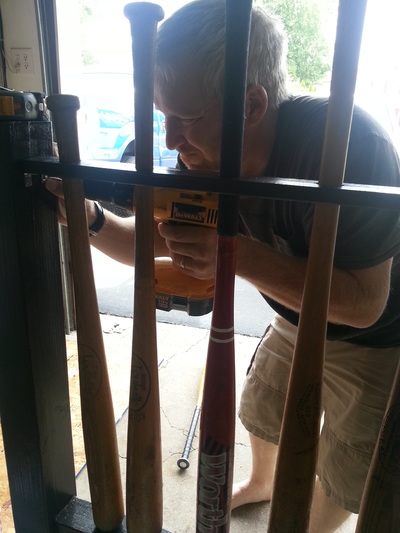
We used brackets to attach the top support, then drove screws up into the bottom of the bats. I was really hesitant to do that, but since most of the bats wouldn't have been able to be used for baseball even if they weren't locked into place AND because Anthony thought that was necessary to keep them from falling on our kid's head, I agreed ;)
With a little thought, and a few tools, it's a fairly easy project. And, depending on where you get the bats, and the size wood you use, it's really cheap.
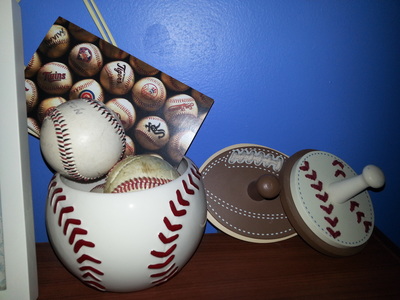
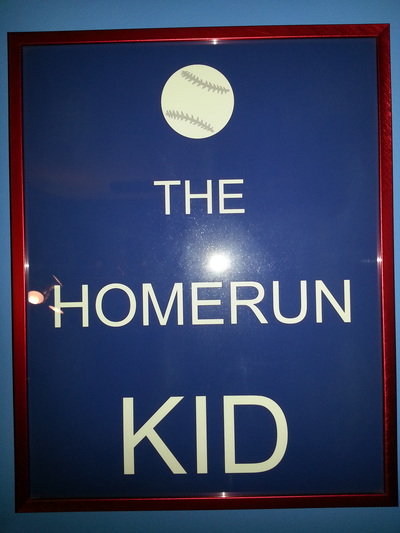
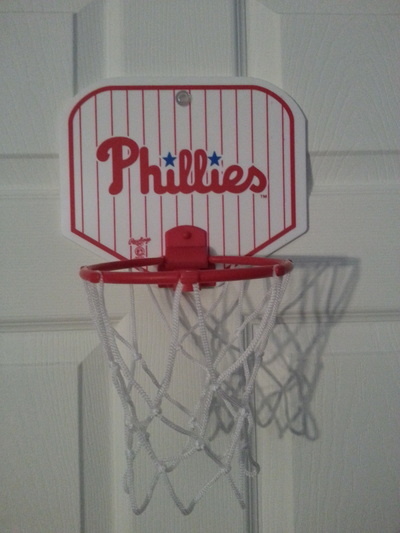
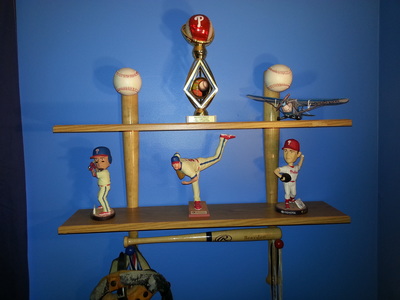
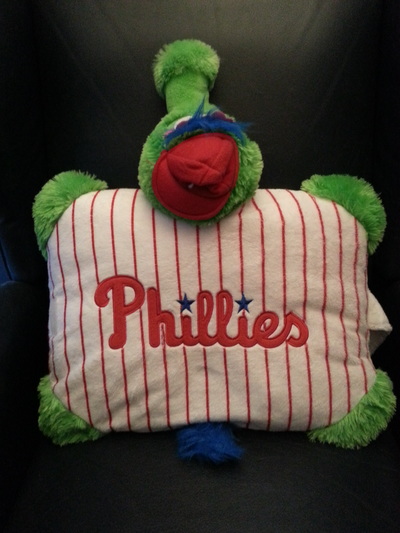
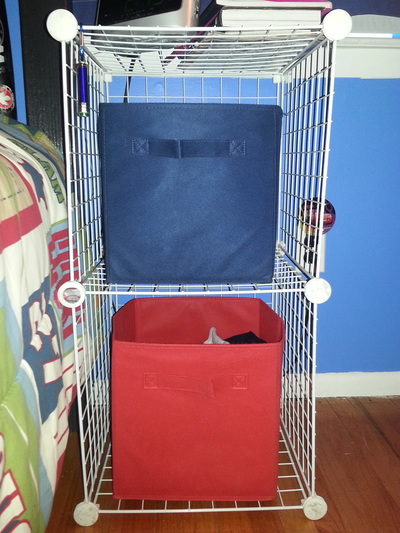
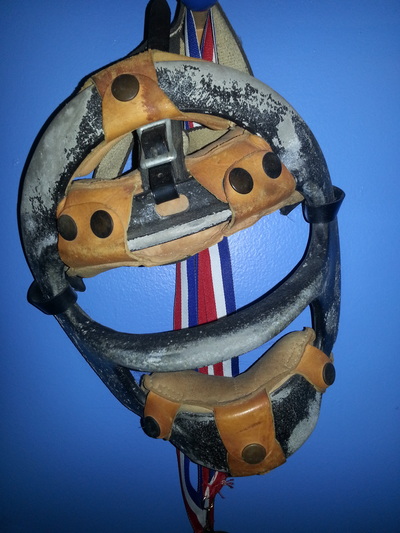
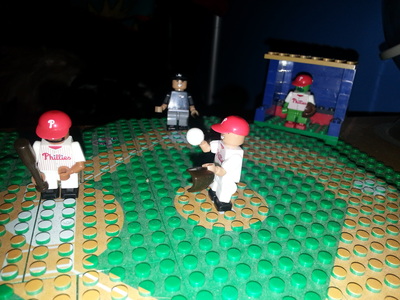
Here are some of the coordinating components of his baseball room:
What have YOU been working on?




 RSS Feed
